How to Install Stable Diffusion Locally: Complete Setup Guide for 2026
Step-by-step guide to installing Stable Diffusion on your computer. Learn system requirements, installation methods, troubleshooting tips, and optimization techniques for the best AI image generation experience.
How to Install Stable Diffusion Locally: Complete Setup Guide for 2026
Running Stable Diffusion on your own computer gives you complete control, unlimited generations, and total privacy. While cloud services are convenient, local installation unlocks the full power of this open-source AI image generator.
This comprehensive guide will walk you through every step of installing Stable Diffusion, from checking system requirements to generating your first image.
Why Run Stable Diffusion Locally?
Before we dive into installation, here’s why you might want local setup:
Advantages:
- ✅ Unlimited generations with no monthly fees
- ✅ Complete privacy - images never leave your computer
- ✅ Full control over models, extensions, and customization
- ✅ No internet required once installed
- ✅ Custom model training with your own images
- ✅ Faster iteration without API rate limits
- ✅ Access to thousands of community models
Disadvantages:
- ❌ Requires powerful GPU (NVIDIA recommended)
- ❌ Initial setup complexity
- ❌ Large storage requirements (20-100GB+)
- ❌ Electricity costs for GPU usage
- ❌ Maintenance and updates required
System Requirements
Minimum Requirements (Low Quality, Slow Generation)
- GPU: NVIDIA GTX 1660 (6GB VRAM) or AMD equivalent
- RAM: 8GB system memory
- Storage: 20GB free space
- OS: Windows 10/11, Linux, or macOS (M1/M2)
Recommended Requirements (Good Quality, Reasonable Speed)
- GPU: NVIDIA RTX 3060 (12GB VRAM) or better
- RAM: 16GB system memory
- Storage: 100GB free space (SSD preferred)
- OS: Windows 11 or Linux
Optimal Requirements (Best Quality, Fast Generation)
- GPU: NVIDIA RTX 4090 (24GB VRAM) or RTX 4080
- RAM: 32GB system memory
- Storage: 500GB+ SSD
- OS: Windows 11 or Ubuntu 22.04
GPU Compatibility Note
NVIDIA GPUs (Best Support):
- RTX 40 series (4090, 4080, 4070) - Excellent
- RTX 30 series (3090, 3080, 3070, 3060) - Excellent
- RTX 20 series (2080, 2070, 2060) - Good
- GTX 16 series (1660, 1650) - Basic
AMD GPUs (Growing Support):
- RX 7900 XTX/XT - Good (requires ROCm on Linux)
- RX 6000 series - Moderate support
- Older cards - Limited support
Apple Silicon (M1/M2/M3):
- M1/M2/M3 Pro/Max/Ultra - Good support via MPS
- Base M1/M2/M3 - Basic support
- Better on macOS 13+ with Metal acceleration
Check Your GPU
Windows:
- Press
Win + R, typedxdiag, press Enter - Go to “Display” tab
- Look for “Chip Type” and “Display Memory”
Linux:
lspci | grep VGA
nvidia-smi  # For NVIDIA GPUs
macOS: Click Apple menu > About This Mac > Graphics
Installation Methods
We’ll cover three popular installation methods:
- Automatic1111 Web UI (Most Popular, Windows/Linux)
- ComfyUI (Node-Based, Advanced Users)
- Invoke AI (Professional, User-Friendly)
This guide focuses on Automatic1111 as it’s the most widely used and has the best community support.
Method 1: Automatic1111 Web UI (Recommended)
Step 1: Install Prerequisites
Windows Installation
1. Install Python 3.10.6
Download from python.org:
- Get Python 3.10.6 specifically (newer versions may have issues)
- During installation, check “Add Python to PATH”
- Verify: Open Command Prompt, type
python --version
2. Install Git
Download from git-scm.com:
- Use default installation options
- Verify:
git --versionin Command Prompt
3. Install Visual C++ Redistributables
Download from Microsoft:
- Search “Visual C++ Redistributable latest”
- Install both x64 and x86 versions
Linux Installation (Ubuntu/Debian)
# Update system
sudo apt update && sudo apt upgrade -y

# Install Python 3.10 and dependencies
sudo apt install python3.10 python3.10-venv python3-pip git wget -y

# Install NVIDIA drivers and CUDA (if not already installed)
# Check NVIDIA driver:
nvidia-smi

# If needed, install NVIDIA drivers:
sudo apt install nvidia-driver-535 -y
sudo reboot
macOS Installation
# Install Homebrew (if not installed)
/bin/bash -c "$(curl -fsSL https://raw.githubusercontent.com/Homebrew/install/HEAD/install.sh)"

# Install dependencies
brew install cmake protobuf rust python@3.10 git wget

# For M1/M2 Macs, ensure you're using ARM Python
which python3  # Should show /opt/homebrew/...
Step 2: Download Stable Diffusion Web UI
Windows:
# Open Command Prompt
cd C:\
mkdir AI
cd AI
git clone https://github.com/AUTOMATIC1111/stable-diffusion-webui.git
cd stable-diffusion-webui
Linux/macOS:
cd ~
mkdir AI
cd AI
git clone https://github.com/AUTOMATIC1111/stable-diffusion-webui.git
cd stable-diffusion-webui
Step 3: Download Stable Diffusion Model
You need at least one model to generate images. Models are 2-7GB files.
Popular Starting Models:
-
Stable Diffusion XL Base 1.0 (Best Quality)
- Download from HuggingFace
- File:
sd_xl_base_1.0.safetensors(6.9GB)
-
Realistic Vision V6 (Photorealistic)
- Search on CivitAI
- Popular for portraits and realistic images
-
DreamShaper 8 (Versatile)
- Good all-rounder for various styles
- Great for beginners
Installation:
- Download your chosen model (.safetensors or .ckpt file)
- Place it in:
stable-diffusion-webui/models/Stable-diffusion/
Quick download via terminal:
cd stable-diffusion-webui/models/Stable-diffusion

# Example: Download SDXL Base (Linux/macOS)
wget https://huggingface.co/stabilityai/stable-diffusion-xl-base-1.0/resolve/main/sd_xl_base_1.0.safetensors
Step 4: First Launch
Windows:
# Double-click webui-user.bat
# OR run in Command Prompt:
cd C:\AI\stable-diffusion-webui
.\webui-user.bat
Linux:
cd ~/AI/stable-diffusion-webui
./webui.sh
macOS (M1/M2):
cd ~/AI/stable-diffusion-webui
./webui.sh
What happens during first launch:
- Creates virtual environment (~2 minutes)
- Installs PyTorch and dependencies (~5-10 minutes)
- Downloads additional required files
- Starts web server
Expected output:
Loading weights [abc123] from /path/to/model.safetensors
Running on local URL:  http://127.0.0.1:7860
Step 5: Access the Web Interface
- Open your browser
- Go to:
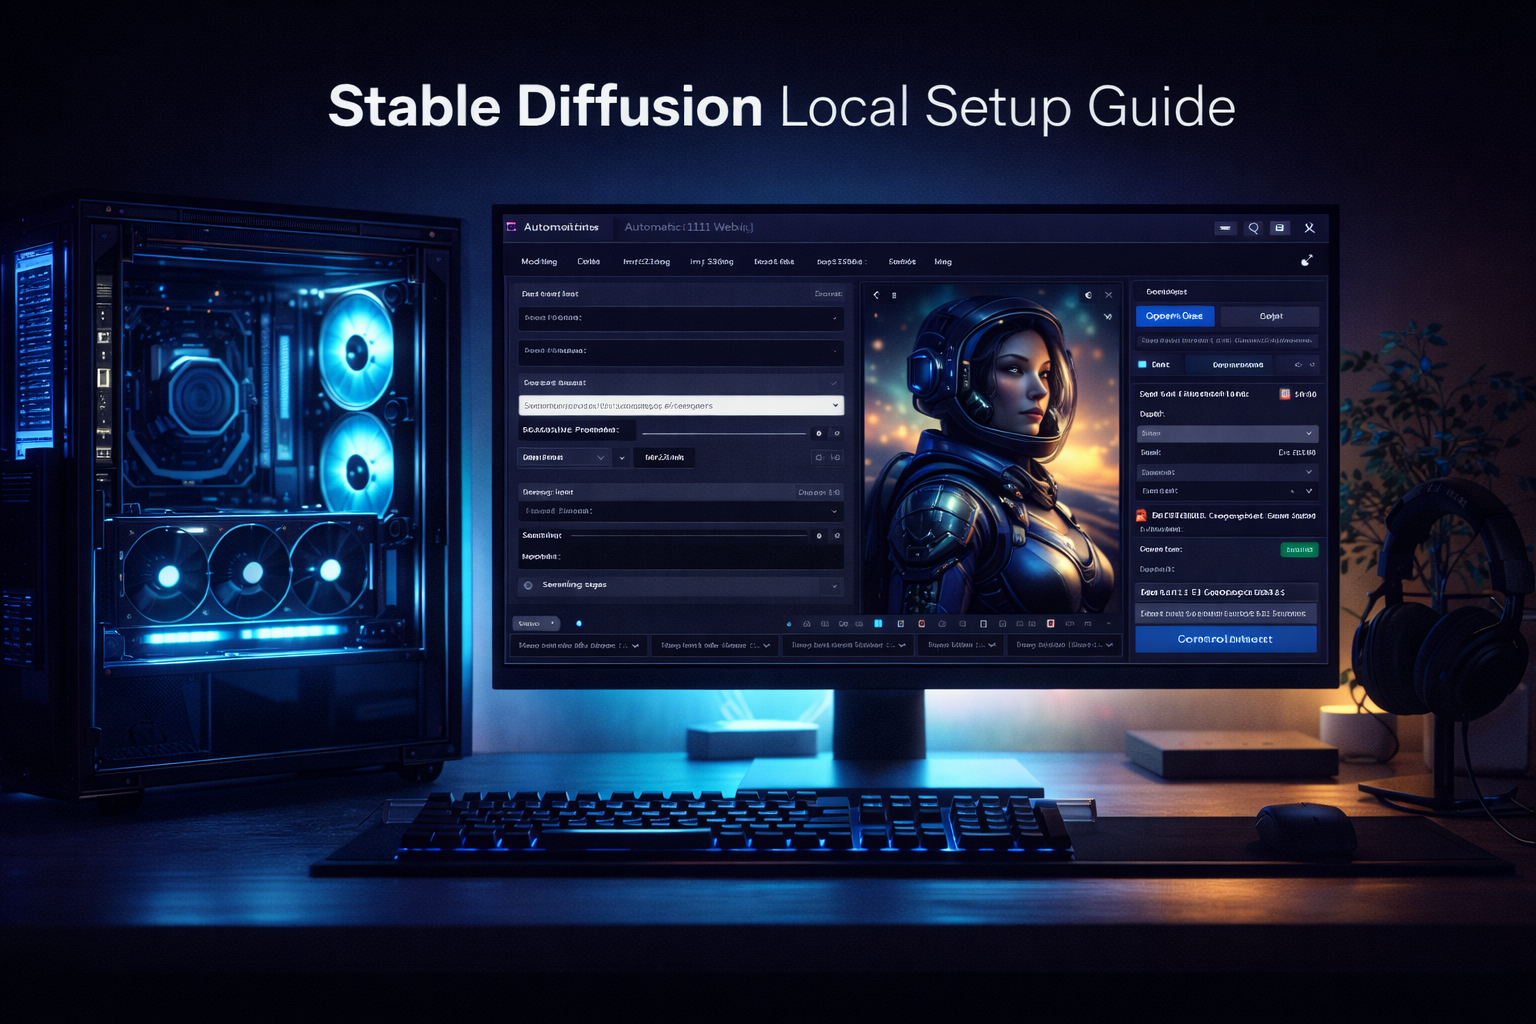
http://127.0.0.1:7860 - You should see the Stable Diffusion Web UI!
Step 6: Generate Your First Image
- Enter a prompt: “a photograph of an astronaut riding a horse, detailed, 8K”
- Set parameters:
- Sampling method: DPM++ 2M Karras
- Sampling steps: 20-30
- Width/Height: 512x512 (or 1024x1024 for SDXL)
- CFG Scale: 7
- Click “Generate”
- Wait 10-60 seconds (depends on your GPU)
Congratulations! You’ve generated your first local AI image!
Optimization & Configuration
For NVIDIA GPUs (Optimal Settings)
Edit webui-user.bat (Windows) or webui-user.sh (Linux/Mac):
# Add these to COMMANDLINE_ARGS:

# For RTX 30/40 series (12GB+ VRAM):
set COMMANDLINE_ARGS=--xformers --opt-sdp-attention --no-half-vae

# For GTX 16 series or low VRAM (6-8GB):
set COMMANDLINE_ARGS=--medvram --xformers --opt-sdp-attention

# For very low VRAM (4GB):
set COMMANDLINE_ARGS=--lowvram --xformers --opt-sdp-attention
For AMD GPUs (Linux)
# Install ROCm
# Add to webui-user.sh:
export HSA_OVERRIDE_GFX_VERSION=10.3.0  # Adjust for your GPU
python_cmd="python3"
COMMANDLINE_ARGS="--precision full --no-half"
For Apple Silicon (M1/M2/M3)
# webui-user.sh
export COMMANDLINE_ARGS="--skip-torch-cuda-test --no-half --use-cpu interrogate"
Essential Extensions
Enhance your Stable Diffusion with these must-have extensions:
Installing Extensions
- Go to “Extensions” tab in Web UI
- Click “Available” sub-tab
- Click “Load from:” to refresh list
- Find extension, click “Install”
- Restart Web UI
Recommended Extensions
1. ControlNet (Required for Advanced Users)
- Precise control over composition
- Pose guidance, depth maps, line art
- Install via Extensions > Install from URL:
https://github.com/Mikubill/sd-webui-controlnet
2. Ultimate SD Upscale
- Upscale images beyond base resolution
- Create 4K/8K images
- Install from Available extensions list
3. Dynamic Prompts
- Wildcard support for varied generations
- Create prompt templates
- Batch generation with variations
4. Image Browser
- Better gallery management
- Search and organize outputs
- Filter by prompts and parameters
5. Additional Networks
- Support for LoRAs and embeddings
- Fine-tune style and characters
- Usually included by default
Downloading Additional Models
Where to Find Models
Primary Sources:
- CivitAI - Largest community repository
- HuggingFace - Official and community models
- Tensor.Art - Curated models
- AI Art Resource Packs - Various sources
Model Types
1. Checkpoint Models (.safetensors/.ckpt)
- Full models (2-7GB each)
- Location:
models/Stable-diffusion/ - Switch in Web UI dropdown
2. LoRA Models (.safetensors)
- Style/character modifications (10-200MB)
- Location:
models/Lora/ - Use in prompt:
<lora:filename:0.8>
3. VAE Models (.safetensors)
- Improve color and clarity
- Location:
models/VAE/ - Select in Settings
4. Embeddings (.pt)
- Textual inversions (small files)
- Location:
embeddings/ - Use in prompt by name
5. ControlNet Models
- Pose/depth/edge guidance
- Location:
extensions/sd-webui-controlnet/models/
Troubleshooting Common Issues
Issue: “Out of Memory” Error
Solutions:
- Reduce image dimensions (512x512 instead of 1024x1024)
- Add
--medvramor--lowvramto launch args - Lower batch size to 1
- Close other GPU-using applications
- Upgrade to GPU with more VRAM
Issue: Black Images Generated
Solutions:
- Add
--no-half-vaeto launch args - Download and install proper VAE
- Update GPU drivers
- Try different sampling method
Issue: Very Slow Generation
Solutions:
- Install xformers: Add
--xformersto launch args - Update GPU drivers
- Use DPM++ samplers (faster than DDIM)
- Reduce sampling steps to 20-25
- Check GPU usage in Task Manager
Issue: “RuntimeError: CUDA out of memory”
Solutions:
# Add to launch args:
--medvram --opt-split-attention
Issue: Models Don’t Show Up
Solutions:
- Check file extension (.safetensors or .ckpt)
- Verify correct folder:
models/Stable-diffusion/ - Refresh model list in Web UI
- Restart Web UI
- Check file isn’t corrupted (re-download)
Issue: Web UI Won’t Start
Solutions:
- Check Python version:
python --version(should be 3.10.x) - Delete
venvfolder and restart - Check for error messages in console
- Ensure no other app uses port 7860
- Try different port:
--port 7861in launch args
Performance Optimization Tips
1. Use Optimal Sampling Settings
Fast & Good Quality:
- Sampler: DPM++ 2M Karras
- Steps: 20-25
- CFG Scale: 7
Best Quality (Slower):
- Sampler: Euler a
- Steps: 30-40
- CFG Scale: 7-11
2. VRAM Optimization by GPU
4GB VRAM:
--lowvram --opt-split-attention-v1
6-8GB VRAM:
--medvram --xformers
12GB+ VRAM:
--xformers --opt-sdp-attention
3. Enable Xformers
Xformers can improve speed by 30-50%:
# Automatically installed by default now
# Force enable:
--xformers
4. Storage Optimization
- Use SSD for models and output (3-5x faster loading)
- Compress old generations: Web UI > Settings > Save images compressed
- Regularly clean outputs folder
5. Batch Generation Tips
- Generate multiple images: Set “Batch count” not “Batch size”
- Batch size increases VRAM usage
- Batch count generates sequentially
Next Steps
Learning Resources
- Prompting Guides: Learn effective prompt engineering
- Model Exploration: Try different models from CivitAI
- ControlNet Tutorials: Master composition control
- LoRA Training: Create custom styles
- ComfyUI: Explore advanced workflows
Community
- Reddit: r/StableDiffusion
- Discord: Automatic1111 Discord server
- CivitAI: Model sharing and discussions
- HuggingFace: Model repository and forums
Advanced Topics
- Training custom models with Dreambooth
- Creating LoRAs for specific styles or characters
- Implementing ControlNet for precise control
- Upscaling techniques for 4K/8K outputs
- Batch processing automation
Conclusion
You now have Stable Diffusion running locally on your machine! This setup gives you:
- ✅ Unlimited free generations
- ✅ Complete privacy and control
- ✅ Access to thousands of community models
- ✅ Ability to train custom models
- ✅ No dependency on cloud services
Start experimenting with different models, prompts, and settings. The more you practice, the better your results will become.
Quick Start Checklist:
- Installed Python 3.10.6
- Installed Git
- Cloned Automatic1111 repo
- Downloaded at least one model
- Successfully launched Web UI
- Generated your first image
- Installed essential extensions
- Optimized for your GPU
Happy generating!
Need help? Check our community forum or browse more Stable Diffusion tutorials.